All Categories
Featured
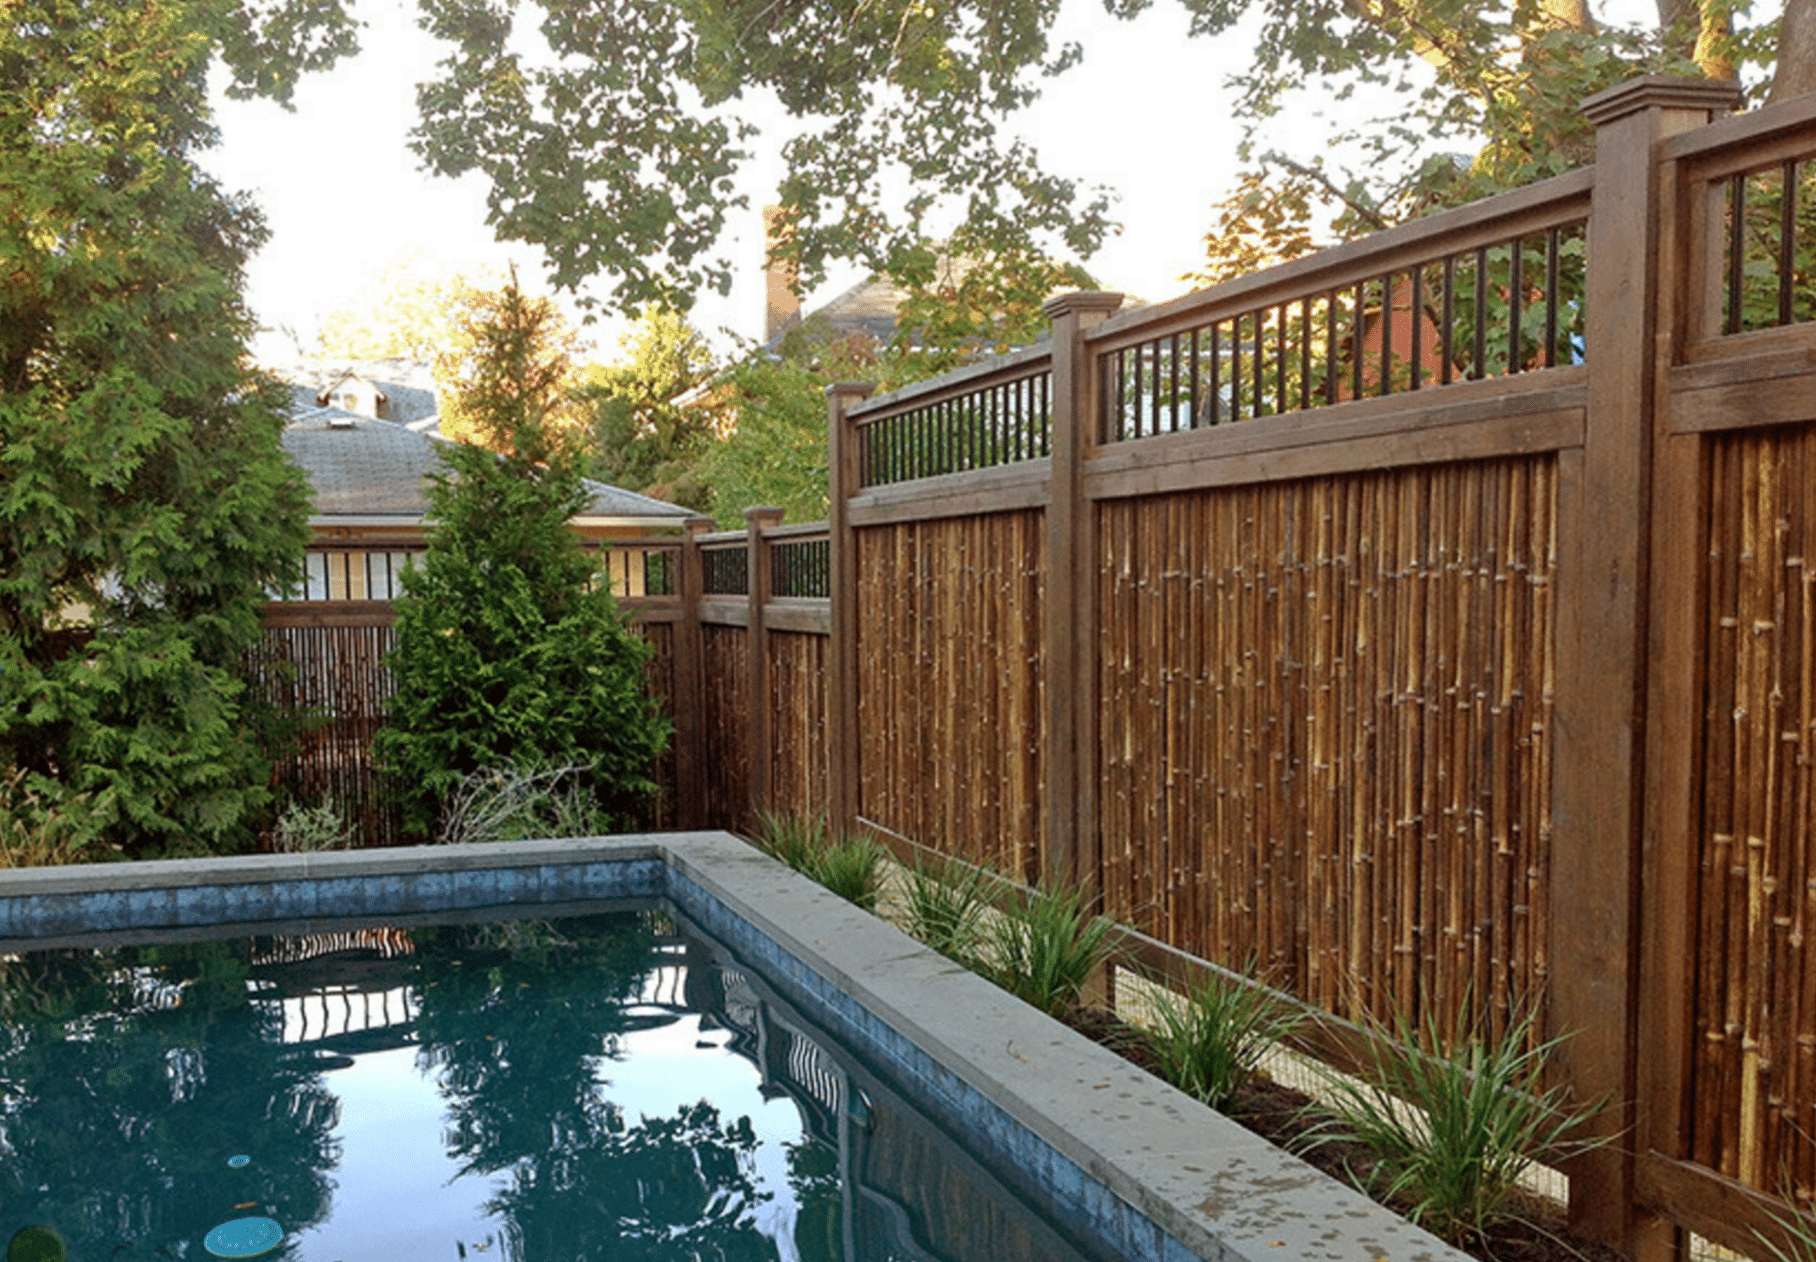
A leaning or damaged fencing message can rapidly become a problem for your fencing's stability and appearance. Whether it's created by weather problems, soil erosion, or tear and wear, repairing a leaning or damaged fencing blog post is a vital job for keeping the honesty of your fence.
![]()
Rot: Wooden fence messages are susceptible to decomposing, particularly near the base, where dampness can collect. Cracks: Serious fractures might show that the message is too damaged to be fixed. Changing Soil: If dirt disintegration or water overflow has actually loosened the ground around the article, it may be leaning without substantial damages to the article itself. When you have actually recognized the concern, you can determine whether the post can be repaired or requires to be changed completely.
Shovel. Post opening miner. Concrete (quick-setting is ideal) Crushed rock (optional for drainage) Level. Sledgehammer or blog post puller. Wood support (optional for added support) Handwear covers and safety goggles. Having whatever prepared prior to you start will certainly conserve you time and initiative throughout the procedure.
![]()
Concrete: For a solid, long-term service, put quick-setting concrete around the base of the blog post. After pouring it in, utilize a level to make certain the blog post remains right.
Gravel: If you like a less permanent and quicker solution, crushed rock can additionally be made use of to maintain the article. Gravel allows much better water drainage around the base, which can help prevent future erosion. Put crushed rock right into the hole, loading it snugly around the base of the message. This option functions ideal in areas where drain is a concern.
Step 1: Eliminate the old blog post. Use a post puller or sledgehammer to loosen up the concrete or crushed rock surrounding the base of the blog post. Action 2: Once the old message is eliminated, dig a brand-new hole that is deep enough to fit the new post. The hole must be about one-third the size of the article to guarantee security. Step 3: Place the brand-new message right into the opening, and examine that it's straight and straightened with the other blog posts. Tip 4: Protect the new article by loading the hole with concrete or gravel, following the same actions as over for stabilization. 7. Enhance with a Brace (Optional) If you're stressed over the message moving before the concrete fully sets, you can include added assistance by making use of a wood brace. Attach the support diagonally from the top of the blog post to a nearby fence message or the ground to hold the post in area while the concrete sets. This extra step can prevent the post from leaning or moving throughout the treating procedure.
Conclusion. Fixing a leaning or harmed fence message does not require specialist skills-- just the right tools, materials, and a little time. Whether you're aligning a leaning message or changing one that's too much gone, following these actions will certainly help restore your fencing's stability and appearance. With normal upkeep and timely fixings, your fence will remain to protect your residential or commercial property and keep its value for several years ahead.
- Assess the Damage. The first action out of commission a leaning fencing post is to identify the level of the damage. A leaning article might just require some modifications, but if the article is broken, decomposed, or broken at the base, it could need replacement. Take a close consider the adhering to:

Rot: Wooden fence messages are susceptible to decomposing, particularly near the base, where dampness can collect. Cracks: Serious fractures might show that the message is too damaged to be fixed. Changing Soil: If dirt disintegration or water overflow has actually loosened the ground around the article, it may be leaning without substantial damages to the article itself. When you have actually recognized the concern, you can determine whether the post can be repaired or requires to be changed completely.
- Gather the Essential Tools and Products. Before starting the repair, gather all the materials and tools you'll require. Below's a list of items for the work:
Shovel. Post opening miner. Concrete (quick-setting is ideal) Crushed rock (optional for drainage) Level. Sledgehammer or blog post puller. Wood support (optional for added support) Handwear covers and safety goggles. Having whatever prepared prior to you start will certainly conserve you time and initiative throughout the procedure.
- Dig Around the Article. To fix a leaning article, you'll require to expose the base of the post by excavating around it. Be cautious not to damage the message itself while excavating, especially if it's wooden, as this might make the repair work much more tough.
- Correct the alignment of the Post. Once the base is subjected, straighten the post if it's only leaning. For a lot more extreme leaning, it might call for some added force or the aid of a helper to hold the blog post in position.
- Secure the Blog Post with Concrete or Crushed rock. After the message is straightened, it's time to enhance it. You have two primary choices for maintaining the blog post:
Concrete: For a solid, long-term service, put quick-setting concrete around the base of the blog post. After pouring it in, utilize a level to make certain the blog post remains right.
Gravel: If you like a less permanent and quicker solution, crushed rock can additionally be made use of to maintain the article. Gravel allows much better water drainage around the base, which can help prevent future erosion. Put crushed rock right into the hole, loading it snugly around the base of the message. This option functions ideal in areas where drain is a concern.
- If Necessary, replace the Blog Post. Sometimes, the fencing post might be too harmed to repair, such as when it's fractured, rotted, or damaged at the base. If this is the situation, replacing the post is necessary. Here's how to replace a damaged fencing article:
Step 1: Eliminate the old blog post. Use a post puller or sledgehammer to loosen up the concrete or crushed rock surrounding the base of the blog post. Action 2: Once the old message is eliminated, dig a brand-new hole that is deep enough to fit the new post. The hole must be about one-third the size of the article to guarantee security. Step 3: Place the brand-new message right into the opening, and examine that it's straight and straightened with the other blog posts. Tip 4: Protect the new article by loading the hole with concrete or gravel, following the same actions as over for stabilization. 7. Enhance with a Brace (Optional) If you're stressed over the message moving before the concrete fully sets, you can include added assistance by making use of a wood brace. Attach the support diagonally from the top of the blog post to a nearby fence message or the ground to hold the post in area while the concrete sets. This extra step can prevent the post from leaning or moving throughout the treating procedure.
- Inspect and Preserve. Once the fence post is repaired or replaced, it is essential to check the surrounding area for future issues. Try to find any kind of indications of soil disintegration, water overflow, or pressure from nearby plants or trees that may influence the security of the message. Periodically evaluate your fencing to make sure that the messages stay strong and upright.
Conclusion. Fixing a leaning or harmed fence message does not require specialist skills-- just the right tools, materials, and a little time. Whether you're aligning a leaning message or changing one that's too much gone, following these actions will certainly help restore your fencing's stability and appearance. With normal upkeep and timely fixings, your fence will remain to protect your residential or commercial property and keep its value for several years ahead.
Latest Posts
The Versatility of Chain-Link Fencing
Published Apr 21, 25
1 min read
Event Locations at FunCity Hotel: Perfect Spaces for each Event
Published Apr 21, 25
1 min read
Flooring Professionals Who Treat You Like Family Members
Published Apr 19, 25
1 min read